My Family

My Family

Thursday, July 24, 2014

Sew Cute Sandwich Bags

I am just obsessed with sewing! Now that I kind of know what I am doing, I am just having a blast!
I saw a couple things that you could buy on pinterest that were really cute,  but I decided I did not want to buy them, I wanted to try and make them. So here they are:
One for me and one for Trevor - hopefully he likes it!

I made them each a different way, but I'm going to share the easier that I found!

First you need a few items:


*Two different fabrics of your choice
*A Liner of some sort - I ended up buy Polished Clear Vinyl. It wasn't even in the fabric section, but I thought it would get the job done! - I just wanted something that would be easy to clean.
*Velco
*A few essentials: scissors, measuring item, pins...

Cut the main fabric to be 10 X 13.

Cut the vinyl to be slightly smaller than that - I cut mine to be 9 X 12.

Then you are going to place the 10 X 13 fabric upside down and center the vinyl on it. Then fold the excess fabric over the vinyl. I ironed it down so it had a nice crease. Don't iron the vinyl though, it does funny things! So make the fold, move the vinyl and then iron down. Put the vinyl back in place and do the same thing for the next edge and so forth.


Pin all sides.
Then sew just the short sides - your basically making a top stitch along the short sides - do not do anything with the long sides.


Next, get out your second fabric. You want to measure the short side of your first fabric (the edge that you just sewed) and you want to make your second fabric slight shorter than that. My first fabric was 8 1/2 inches, so I cut my second fabric to be 7 1/2 (1 inch smaller than the first) X 4. So my second fabric was 7 1/2 X 4


Then fold in all edges and top stitch around it.
My angle must be funny because this looks like a square, but it shouldn't be. 

Now we need to pin this second piece of fabric to the first.
If you fold your first piece of fabric in half - like its going to be when it's holding a sandwich, you want to pin this to the back side. Depending on your fabric, you might not have a "backside" but I did.
Next, cut a piece of Velcro to measure about 2 1/2 inches. Then, turn your sandwich bag over and pin where you want the Velcro. I just centered mine.

First you will want to sew the second piece of fabric on the first. I sewed right along the top stitch that was already on my second piece of fabric. (Make sure you unfold your sandwich bag when sewing this together).
 Flip it over and sew on the Velcro - again, make sure you sandwich bag is not folded in half.
 
Fold your sandwich bag the "wrong way"
Sew along the 3 edges (right, bottom and left). Sew pretty close to the edge, so you don't waste any space.

Then turn it "right side out".
Now you can sew on the top piece of Velcro. Make sure you make these stitches look neat because these will be seen on the other side.
HERE IT IS!!
I just LOVE how it turned out!
I think these can be used for a lot more stuff other than sandwiches - like different snacks and things. With the vinyl on the inside, it will wash up really nice!
Wristlet Fabric Keychain


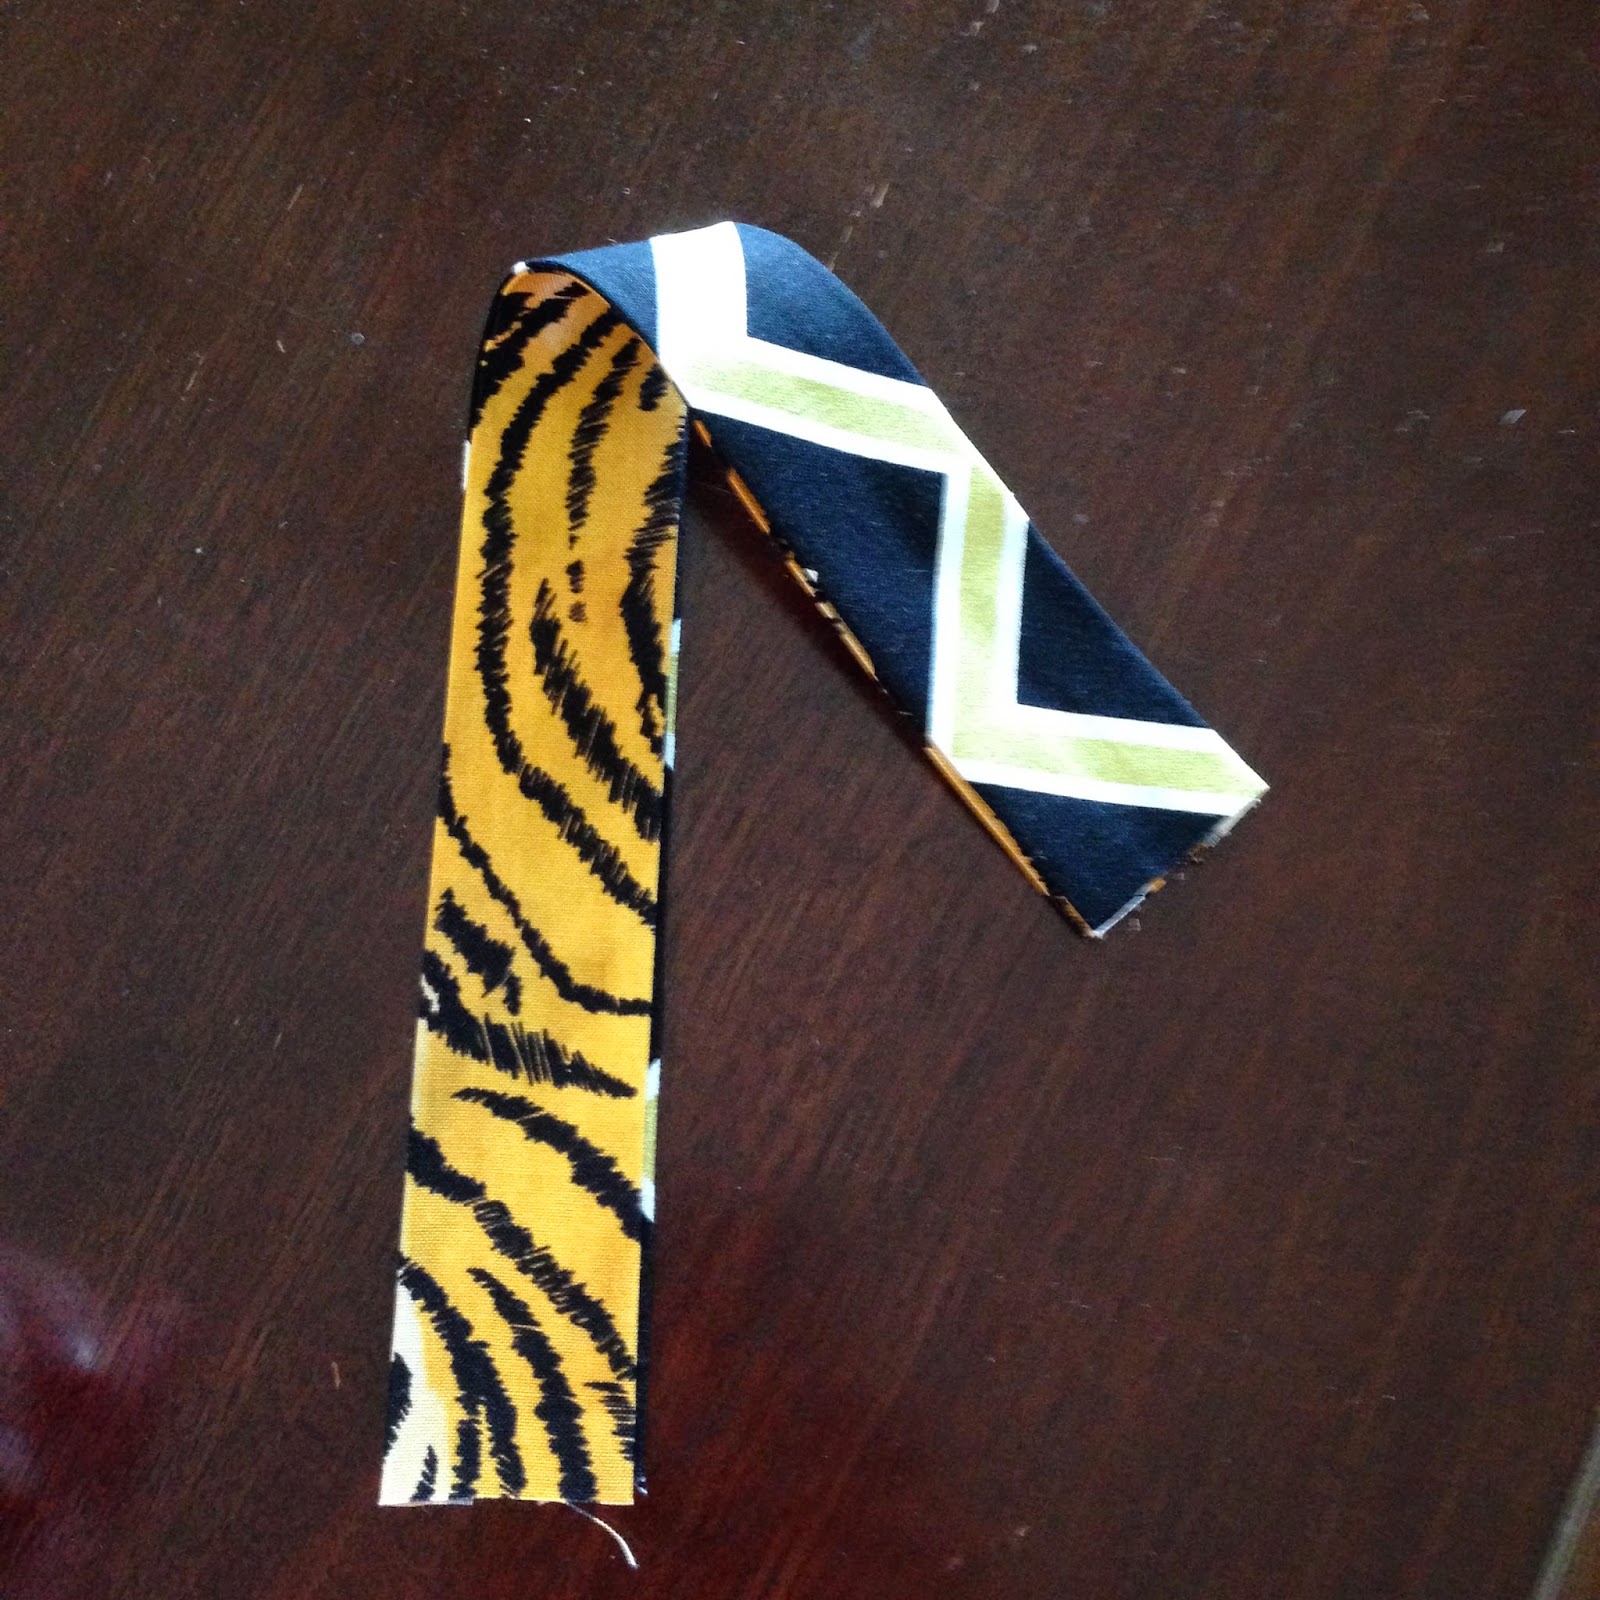
Each year I love to make a new keychain for my work keys. This year I decided to go with my school colors/mascot - tigers!

In case you are interested in making one (they are super easy) here is the how to:

Items you will need:
Two different fabrics (one for the inside and one for the outside)
fusible interfacing
1 key chain piece (I found mine at Hobby Lobby, you can also get a purse strap clip)
ribbon


First, cut the two fabrics so they measure 2 1/2 X 13 inches.
Also, cut one strip of fusible interface to measure 1 X 12 inches.


Iron the sides of both strips of fabric so that the width will fit in the key chain holder that you purchased. Mine ended up with about 1.5 inches width.


Put the fabrics together with the fabric interface between the two. Iron all together. Then sew the two coordinating fabrics along both edges. I sewed mine fairly close to the edge. These will be seen, so make them look as nice as possible.


Next, take your key chain clip and slide it onto the key chain. Be sure that the clip is on top of the material you want to be on the outside of your key chain. Then, sew the two ends together overlapping just a little. I usually go over this a few times so it is a strong hold.
Now it's time to do something with the ribbon. Cut the ribbon so it is about 4-5 inches long. Burn the edges with a lighter or match so that it doesn't unravel. Move the purse clip around the key chain until the seam is about 1/4 to 1/2 an inch above the clip. Take the ribbon and wrap it around the area where the two ends have been sewn together. You ribbon will wrap around and cover this area up. Tuck both ends of the ribbon to the inside of the key chain.

 Sew along all four edges. Again, this will be seen, so make it as neat as possible.

And there you have it! Now you have a cute and functional key chain!

Happy sewing!!

Simple Easy Burlap Wreath

The last wreath that I made a couple years ago got a little beat up, always being smashed between our front door and storm door, so it was time to make another. I saw so much burlap fabric at hobby lobby that I decided to give that a try! Here are the materials that I bought:
-A wreath
-Burlap* I bought two of these. You could probably get away with one on a smaller size wreath. I used a whole one and just a little of the second one. 
-Flower (more than one if you want)
-Hot glue

I originally wanted one of those green foam wreaths, but it was actually more expensive than this straw one. This one came in a plastic wrap and really, there is no need to take it out of the plastic wrap. I did and it was a little messy! 

Wrap the wreath with the burlap. 
I thought about buying some of the decorative burlap (some have strips, some have chevron of all different colors...but I decided plain would do for me!) 
Hot glue the burlap down once you have covered it all. 

Then hot glue your flower on. 


And here it is! I probably need to get a new hanger since you can see this one. But I still love it! 

Simple Easy Burlap Wreath

Tuesday, July 22, 2014

Bibs Made Easy

We are getting to the age where several of our friends either have little ones, are pregnant or are trying to get pregnant. So I thought it was time to try and make a few baby items.

I have made baby blankets before, but I wanted to try something new, so a bib it was!

I thought it turned out super cute!

Items Needed:
-fabric of your choice
-terry cloth fabric (flannel will work or a towel/wash cloth)
-snaps
-fabric marker or blue tailors chalk
-hand sewing needle


I laid out my fabric and traced the template with my white chalk pencil 


Then cut it out!

Then take your terry cloth and cut it out the same way. I just used the first piece of fabric as my outline. 


Turn it "inside out" and pin along the edges. 
Then sew together leaving a small gap so you can turn "right side out". I would leave the gap on what would be the top left hand part. That way you can sew the snap on before you close up the gap. 


Turn the fabric right side out and hand-stitch the snap just to the black/terry cloth so you don't see the thread on the other side. 
This way you don't see the black thread on the OSU fabric. I didn't worry about sewing on the other snap because you can't see the black thread on the black terry cloth anyway

Then top stitch around the whole bib. 

Then you can sew on the other side's snap. 


And then you're done!!

I just loved how it turned out! I'm going to have to make a few more now since they were so easy!

Sew Cute!!